Let's be real: restoring your own headlights isn't rocket science. But there are some common mistakes that can turn a weekend project into an expensive problem. We see the results of these mistakes regularly with our customers. Here are the most common ones.
Sanding Without Protecting the Body Paint
This is mistake number one. You start sanding the headlight without masking tape around it. The sanding disc spills over onto your paint. You end up with marks in your clear coat. It shows in the sunlight and it's pricey to fix at a body shop.
Take 5 minutes to mask it properly. Green painter's tape does the job. Cover the entire headlight perimeter generously, the bumper, and the fender. That's 5 minutes that could save you $500 in paint touch-ups.
Sanding Too Hard or Too Long in One Spot
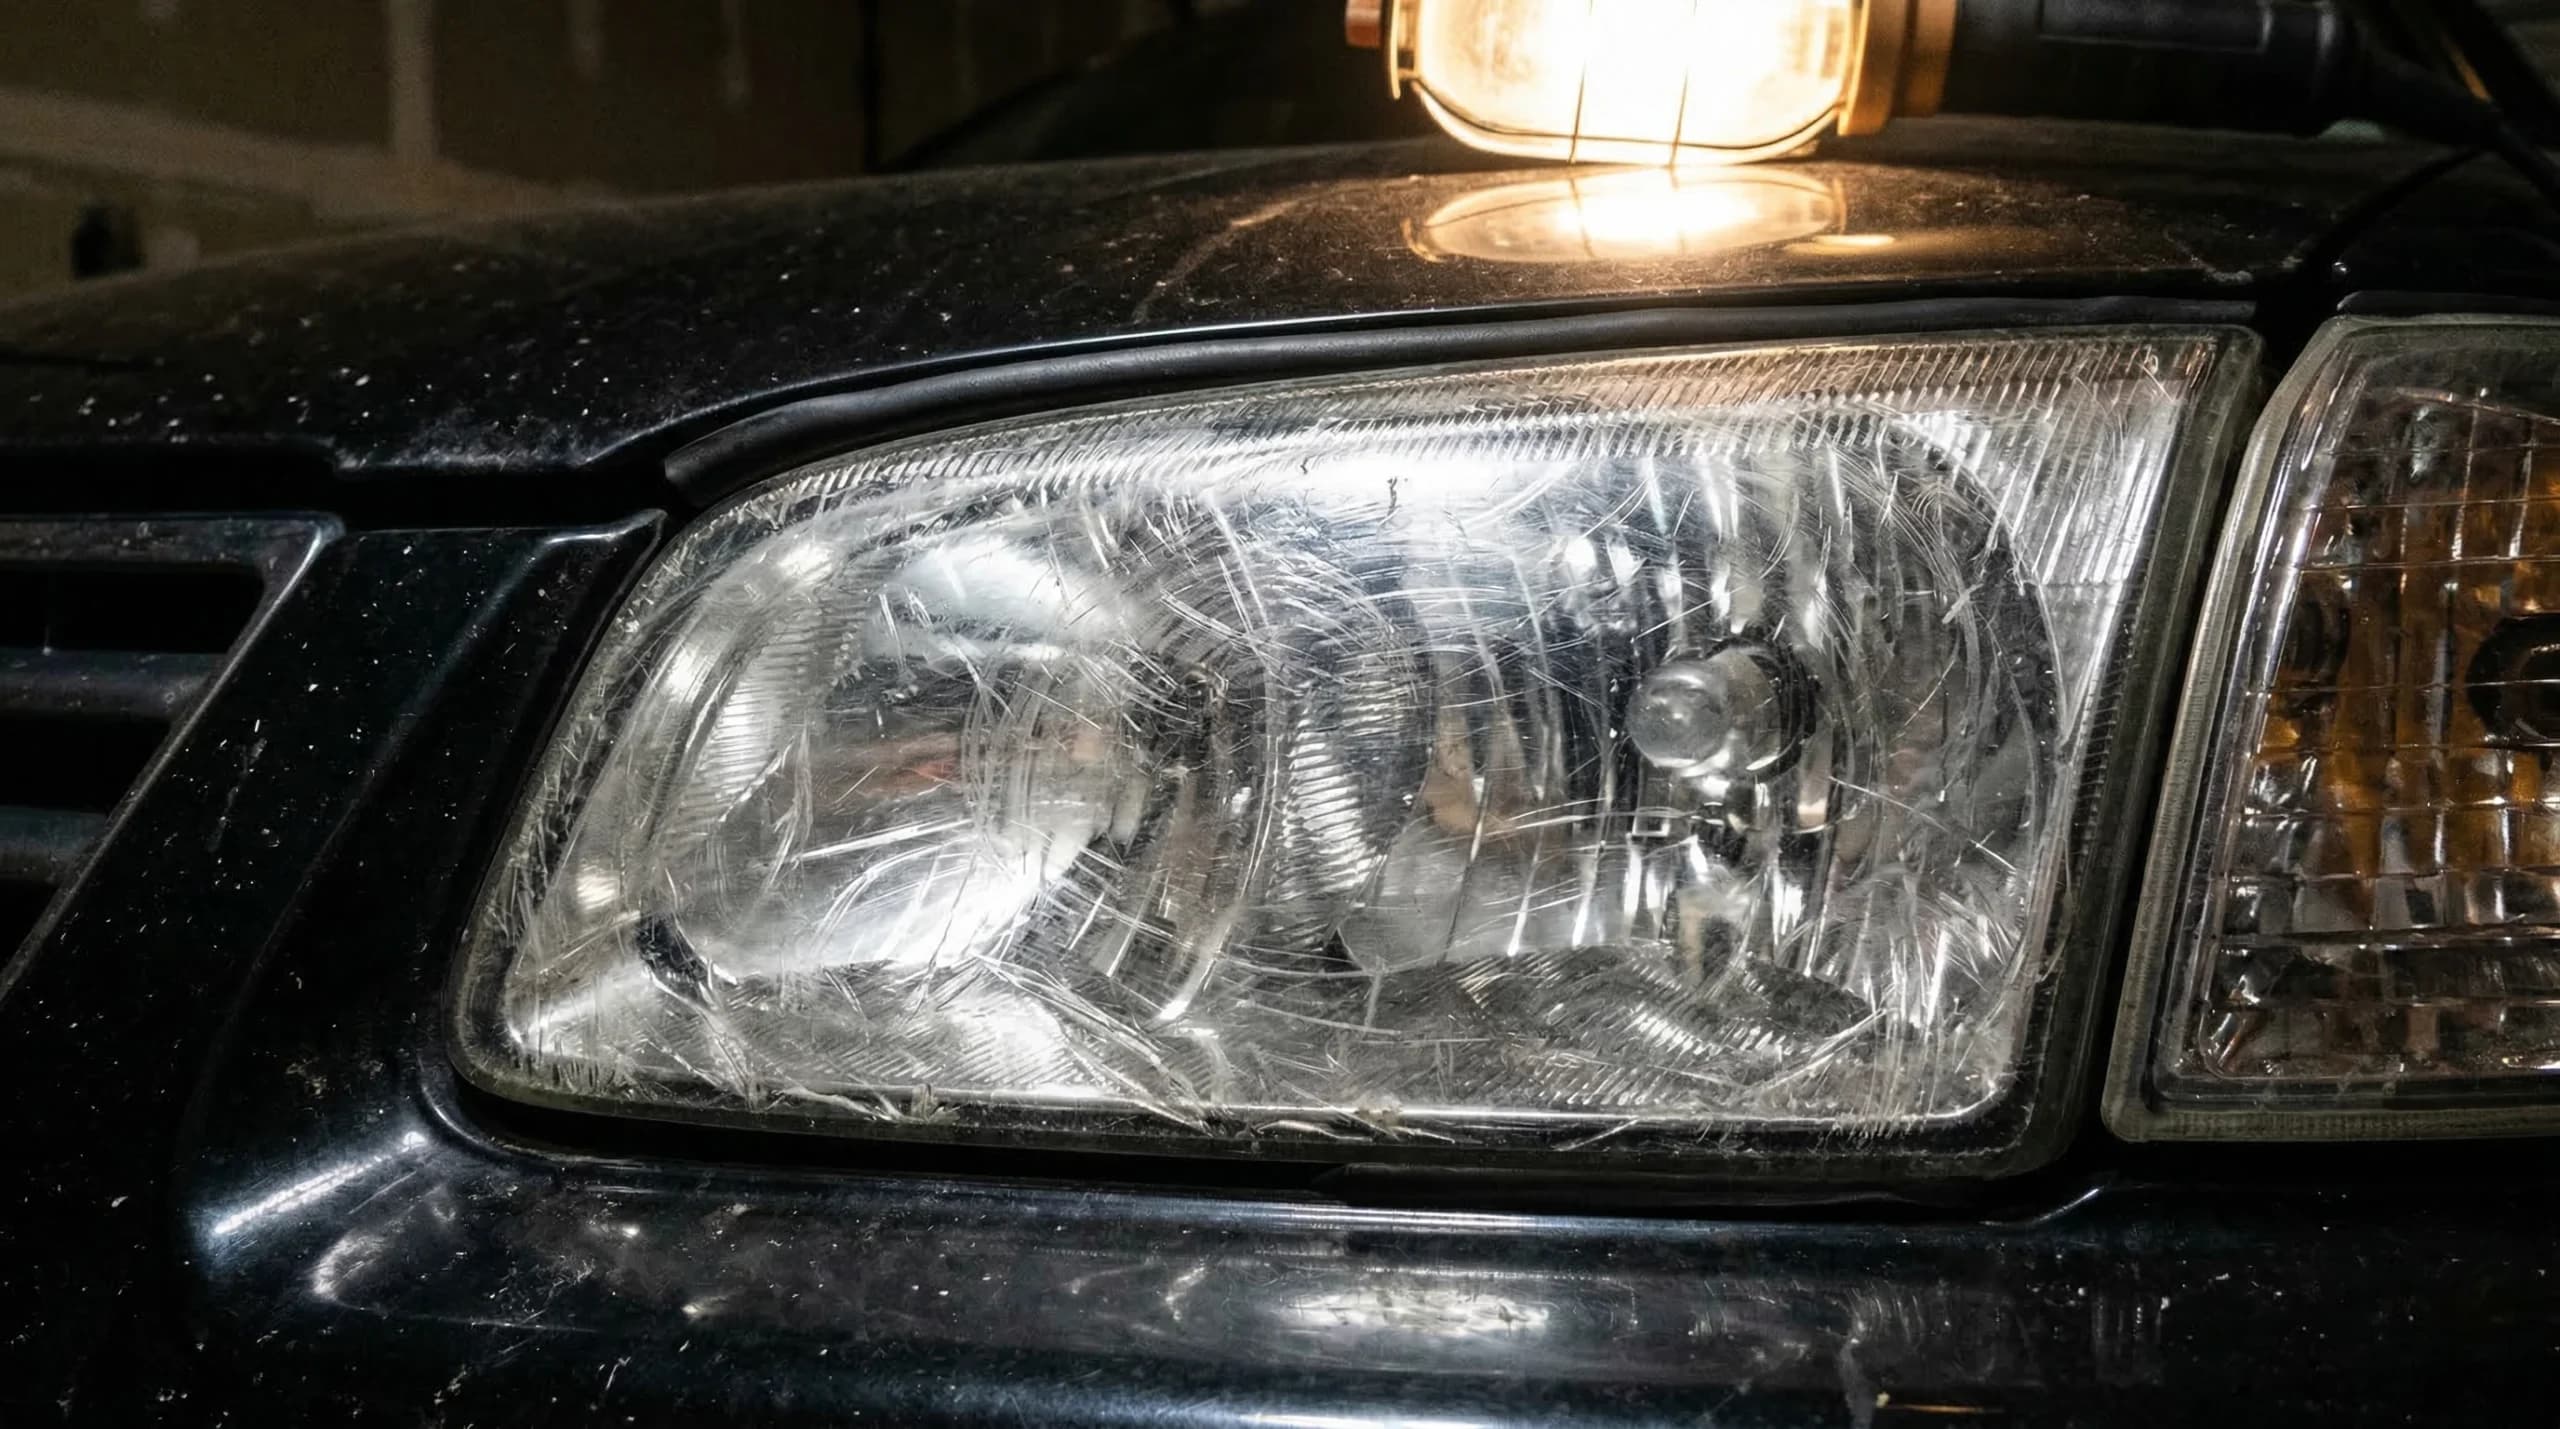
Polycarbonate has limited thickness. If you keep grinding away at the same spot, you're thinning the plastic unevenly. The result: thin zones that scatter light differently, surface irregularities, and a headlight that looks hazy even after polishing.
The rule: keep your motion constant. Never stay in one place. Regular movements, light pressure, and let the sandpaper do the work. If an area resists, move to the next grit rather than forcing it.
Using Grits in the Wrong Order
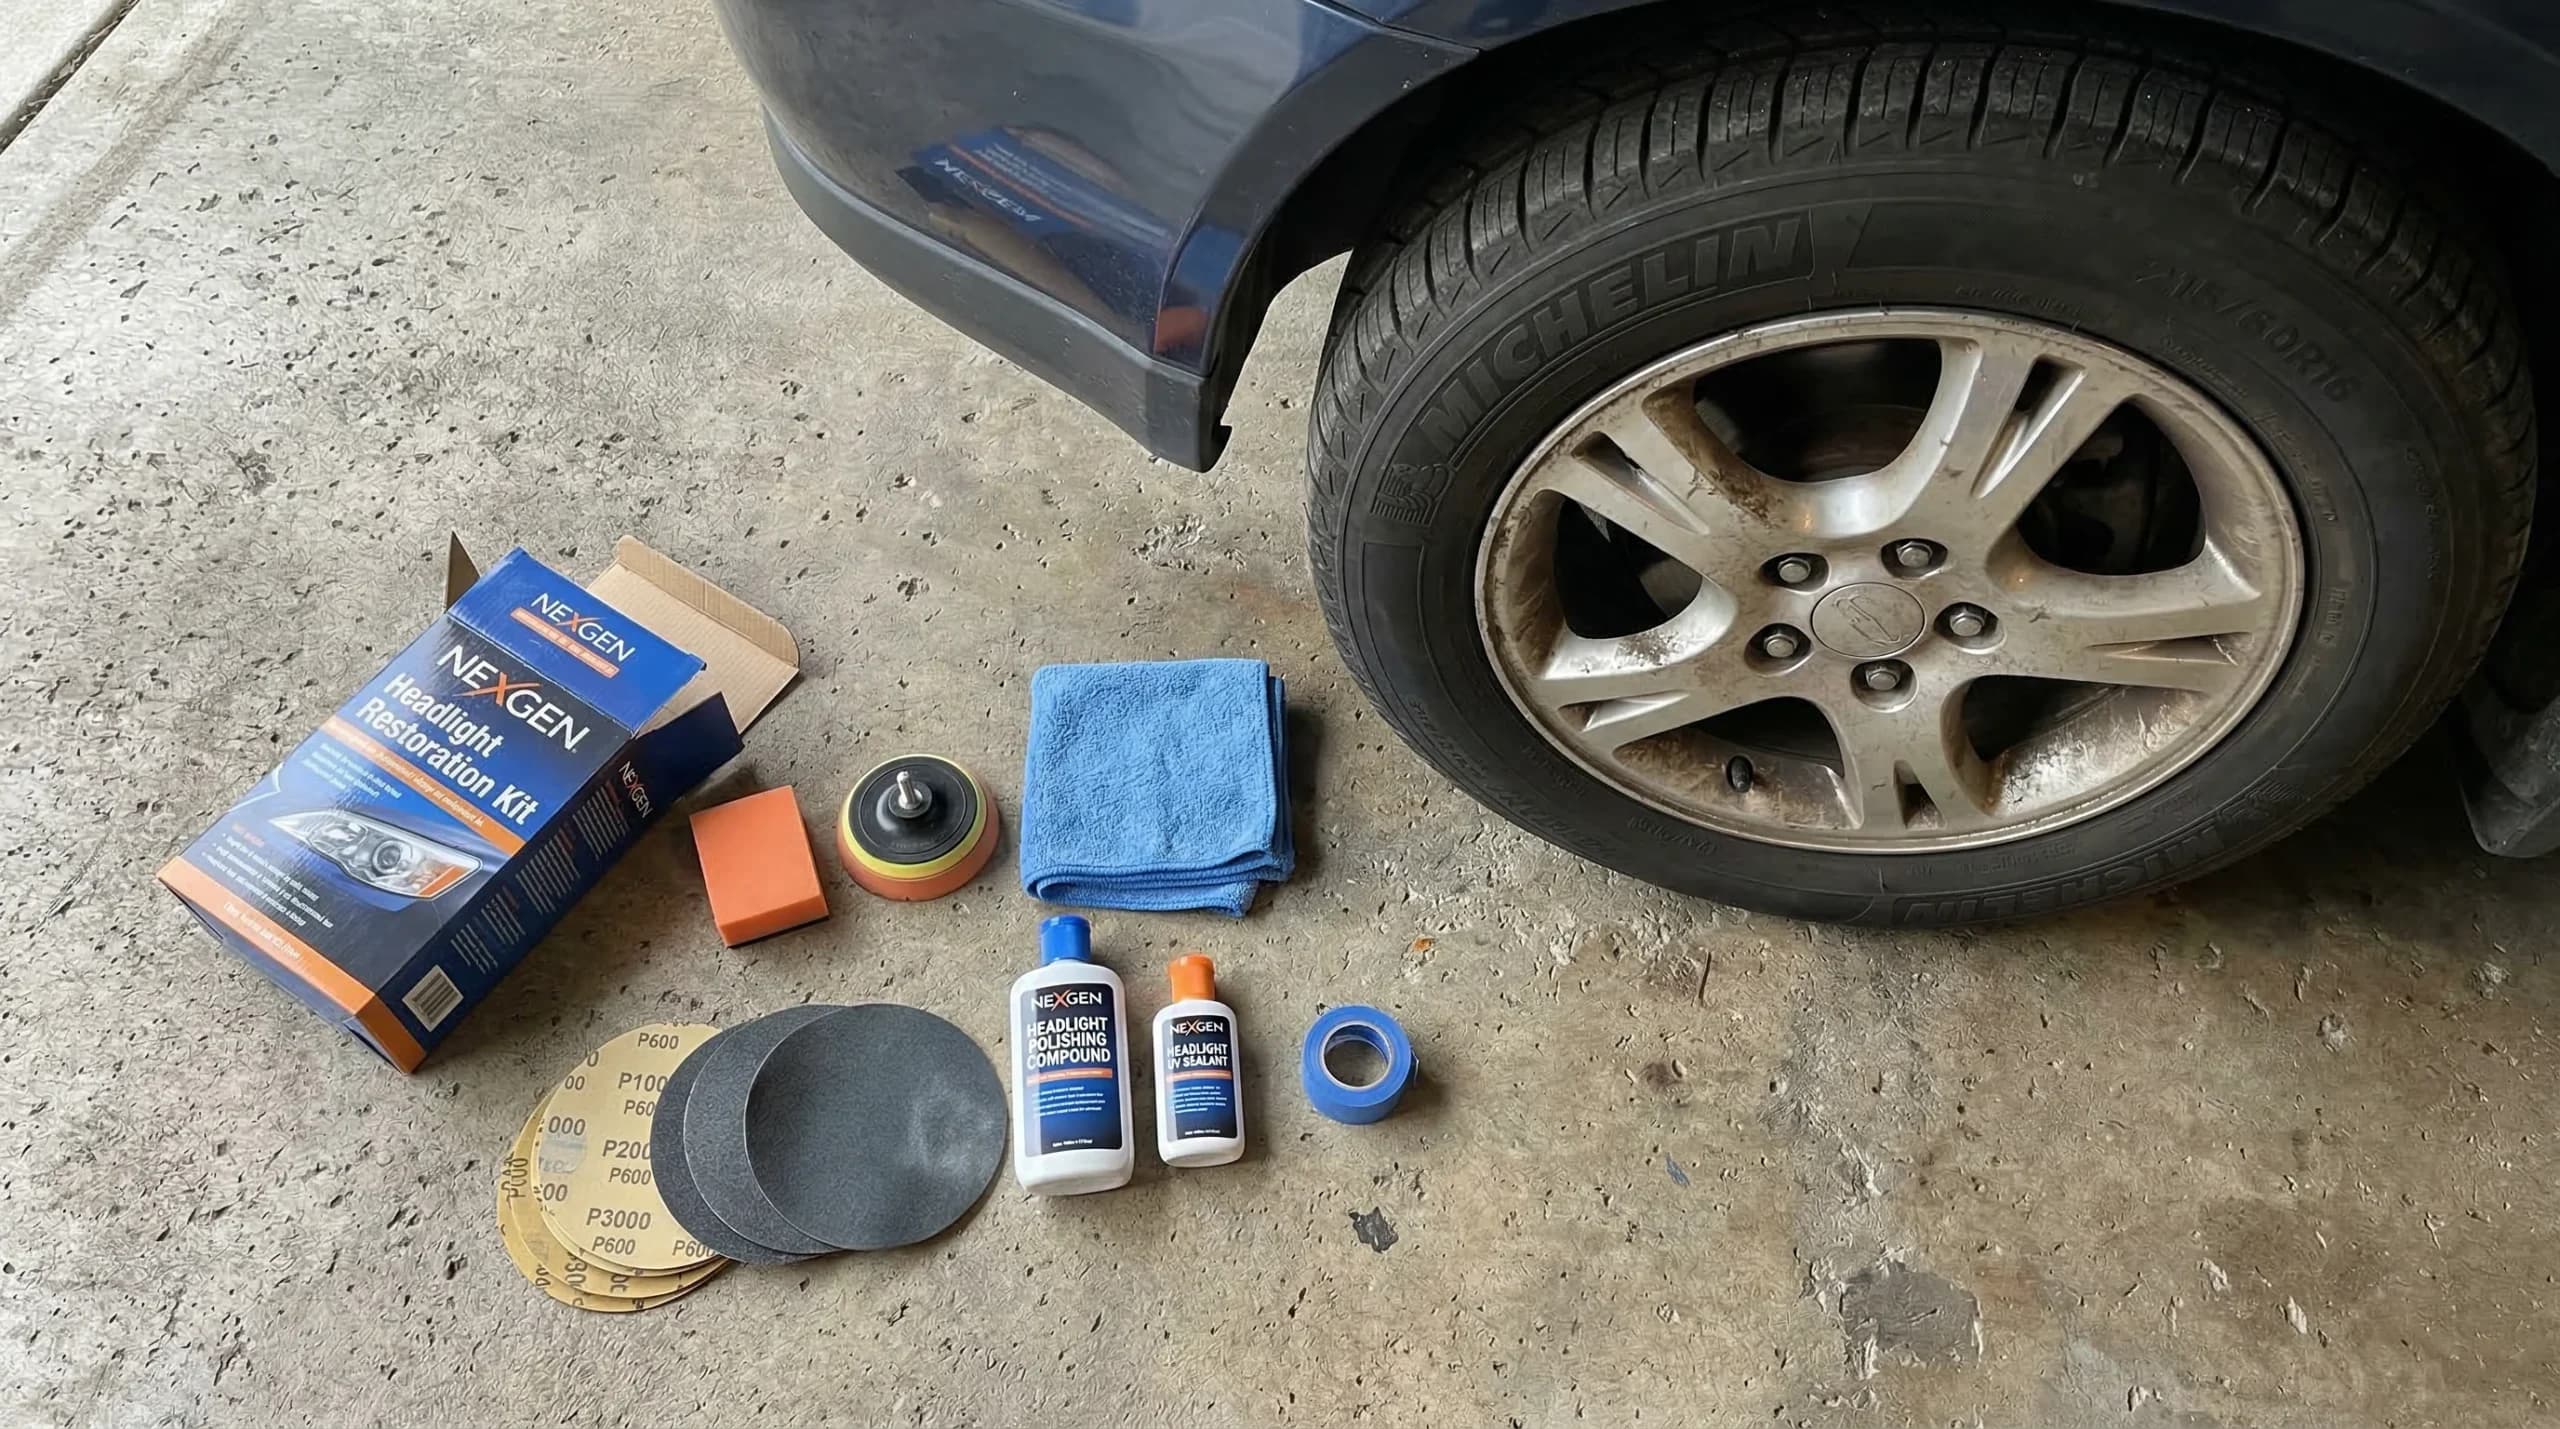
Each sanding grit has a specific job. You start coarse to remove oxidation, then gradually work down to fine grits to smooth the surface. If you skip a grit or start too fine, you won't remove enough oxidation. If you start too coarse, you create deep scratches that the next grits can't erase.
Follow the order in your kit. It's not a suggestion—it's the sequence that gets results.
Dry Sanding
Wet sanding exists for a reason. Water acts as a lubricant and keeps the paper from overheating the plastic. Dry sanding creates deeper scratches, generates heat that can warp the plastic, and gives uneven results. If your kit calls for wet sanding, use water. Keep a spray bottle handy.
Forgetting Protection Afterward
You've sanded, polished, and your headlights are clear. You're happy. Then you forget to apply the sealant or protectant. Or worse, you figure it's not necessary. Three weeks later, the yellow's back. All that work for nothing.
Applying protection after polishing isn't optional. It's half the treatment. We explain why in our article on polish alone and its limits. And if you want the best protection possible, our article on ceramic coating is worth reading.
When It's Time to Call a Pro
If you've already tried the DIY route and aren't happy with the results, or if you made one of the mistakes mentioned above, a professional can usually fix it. We regularly see customers who come in after a DIY job went sideways. It's recoverable in most cases.
Book an appointment at leroidesphares.ca and we'll handle it properly.